1. How to activate Loyverse Payments on your account
2. Adding Loyverse Payments as a payment type
3. Connecting the Terminal to Loyverse POS
4. Processing Payments
5. Processing Refunds
Merchants that work on Loyverse POS can accept credit and debit card payments via Loyverse Payments, and it is available now in the USA, only in testing mode upon request.
1. How to activate Loyverse Payments on your account
Log in to your Back Office.
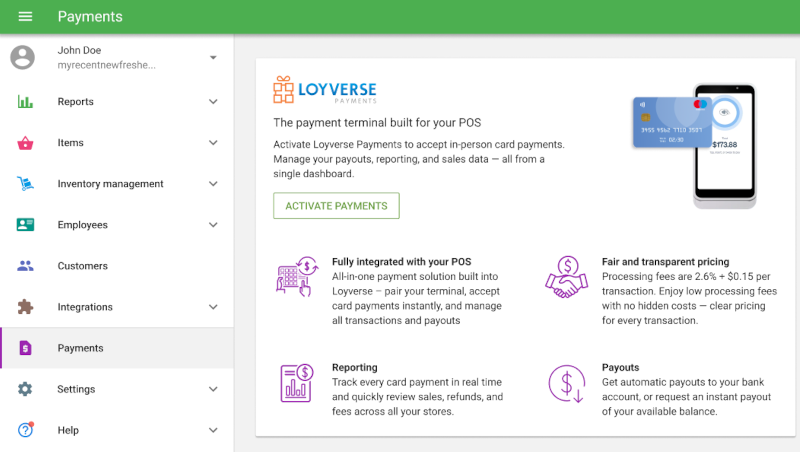
Go to Settings > Payments. Click on the Activate Payments button.
Complete the form to create your account for Loyverse Payments. Select your Business Type among the options: Individual, Company, or Non-Profit, and click Continue.
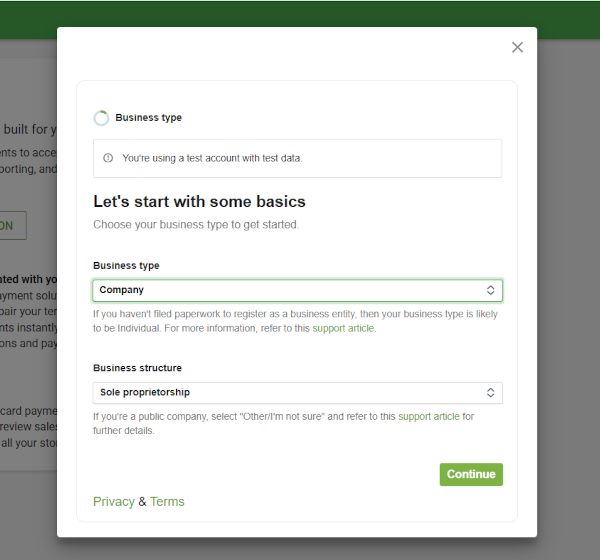
For the Company selection, carefully fill in the Business details.
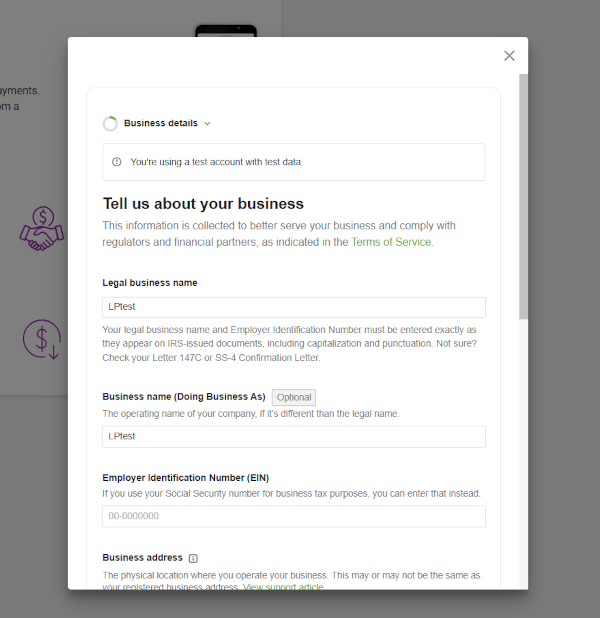
The next step is to complete the information for the Business Representative and Bank Details to connect your business bank account for future payouts.
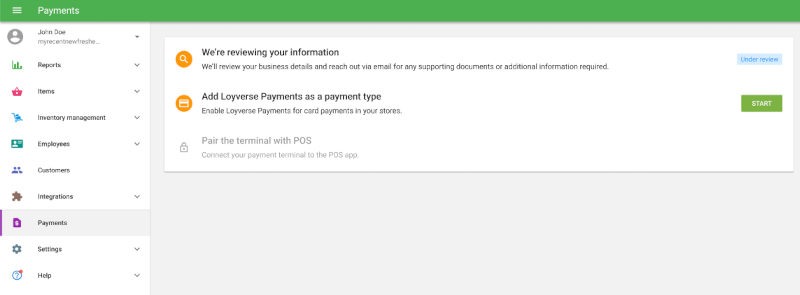
After submitting the information, you will see the status Under Review.
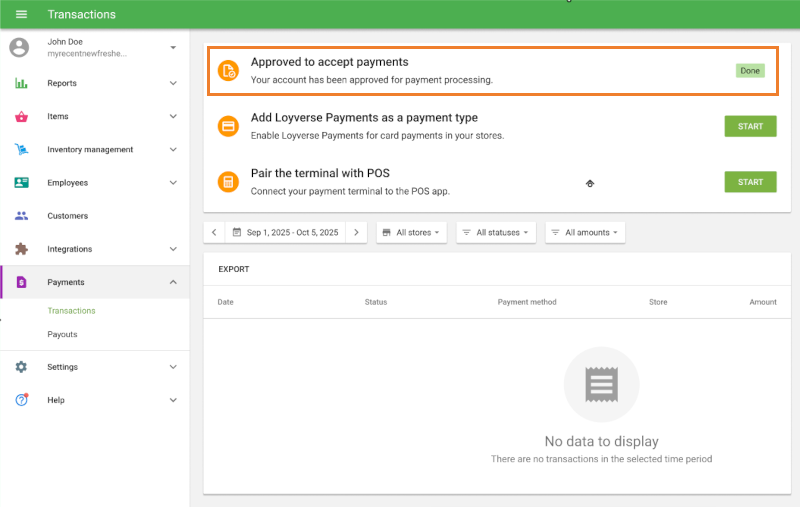
After you see the Approved to accept payments notice, proceed to the next step: adding Loyverse Payments as a payment type.
2. Adding Loyverse Payments as a payment type
In your Back Office, go to Settings > Payment types.
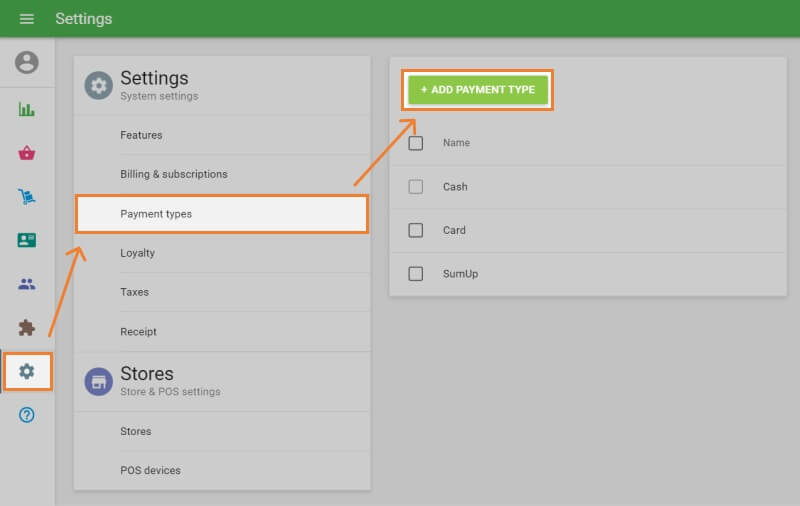
Click the ‘Add payment type’ button.
From the drop-down list, select ‘Loyverse Payments’.
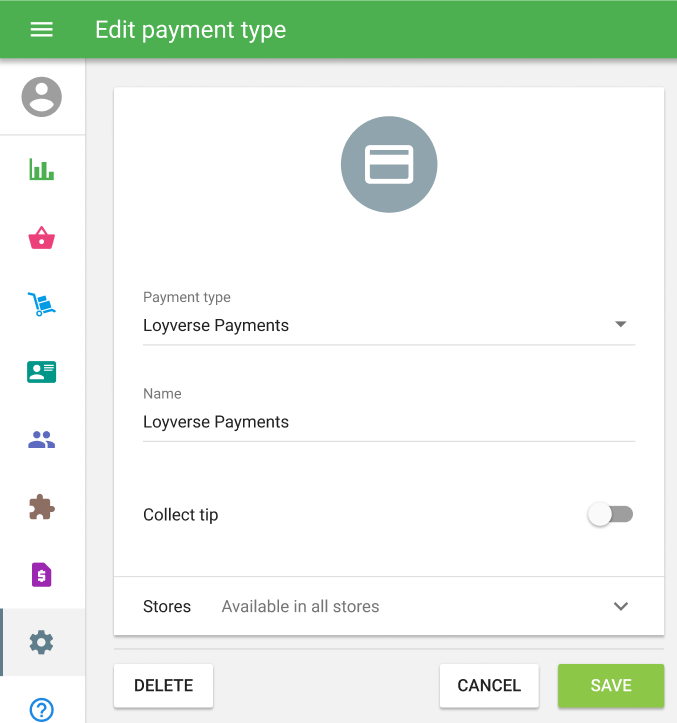
Switch on the Collect tip toggle to enable tips if needed. Set up predefined tip percentages.
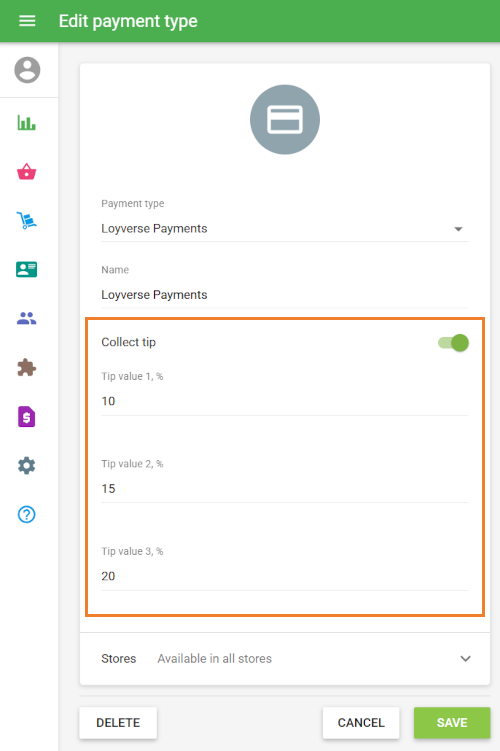
Save your changes when done.
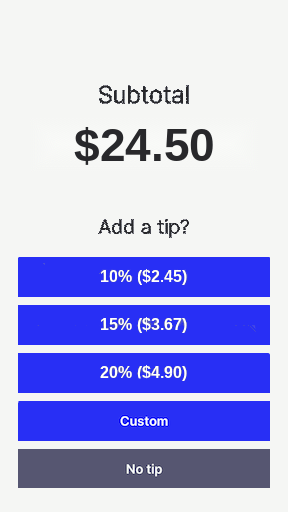
During a sale, the tip options will be shown on the payment terminal, and the customer can select a tip before completing the payment.
3. Connecting the Terminal to Loyverse POS
Before connecting, you should receive a terminal and connect it to the Internet through WiFi.
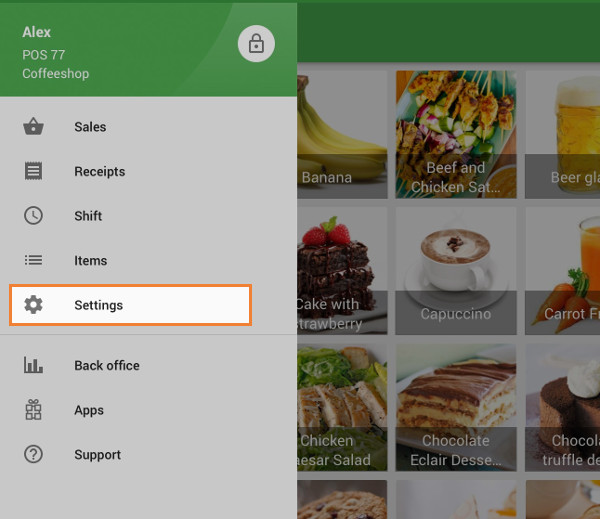
Open the Loyverse POS app.
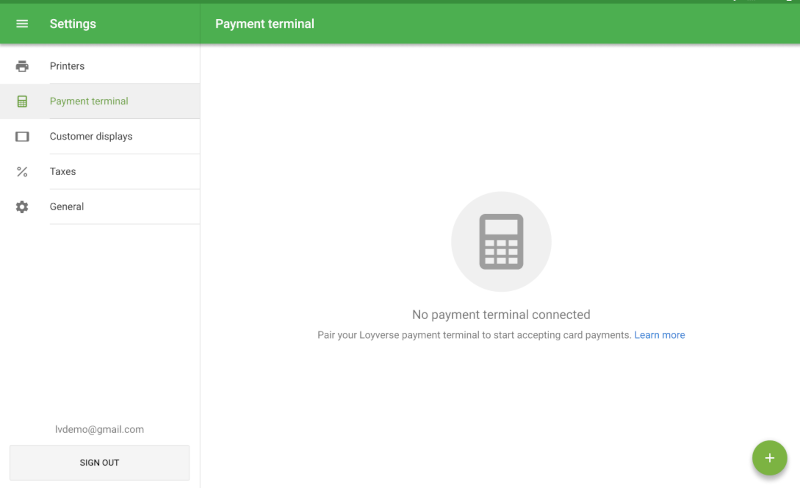
Go to Settings> Payment terminal
Tap the plus button to create and pair a payment terminal.
Select the Terminal type.
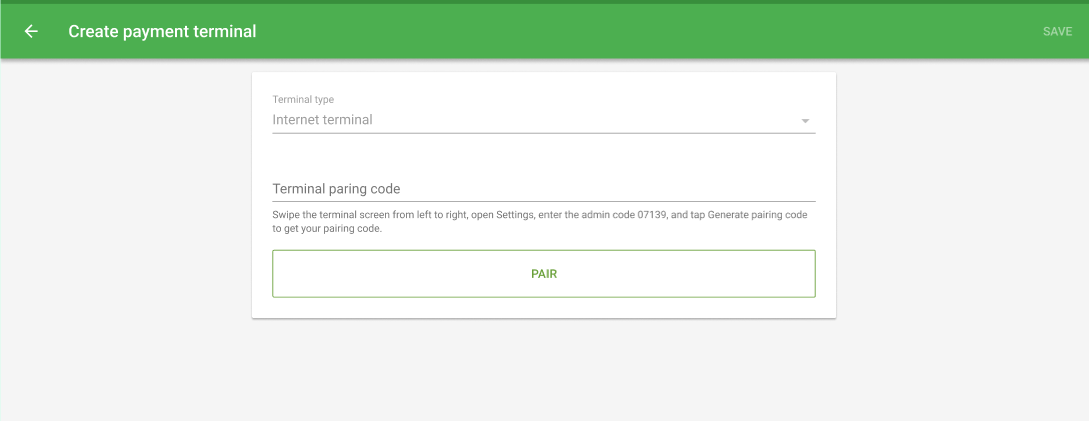
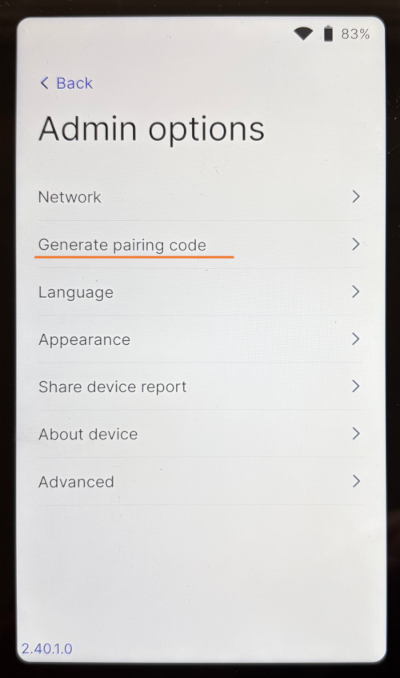
On the terminal, swipe the terminal screen from left to right, open Settings, enter the admin code 07139, and tap Generate pairing code to get your pairing code.
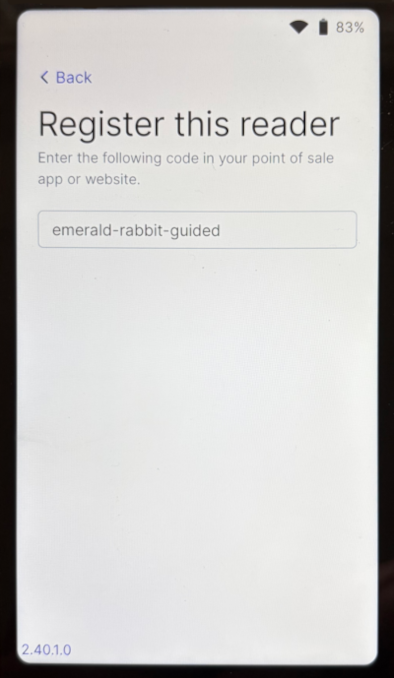
Enter the code from the terminal into the Create payment terminal form on the POS and tap the Pair button.
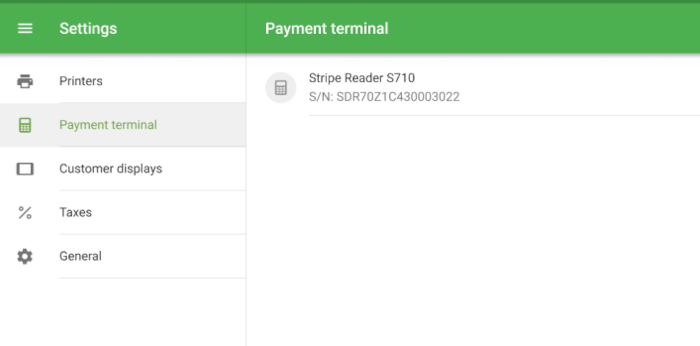
After successful pairing, you will see the Terminal model name and tap Save.
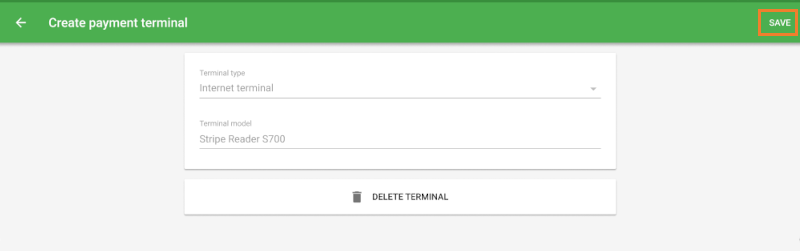
The paired terminal will appear in the Payment terminal section.
4. Processing Payments
Ensure the terminal is connected to the Internet.
To Accept a Card Payment:
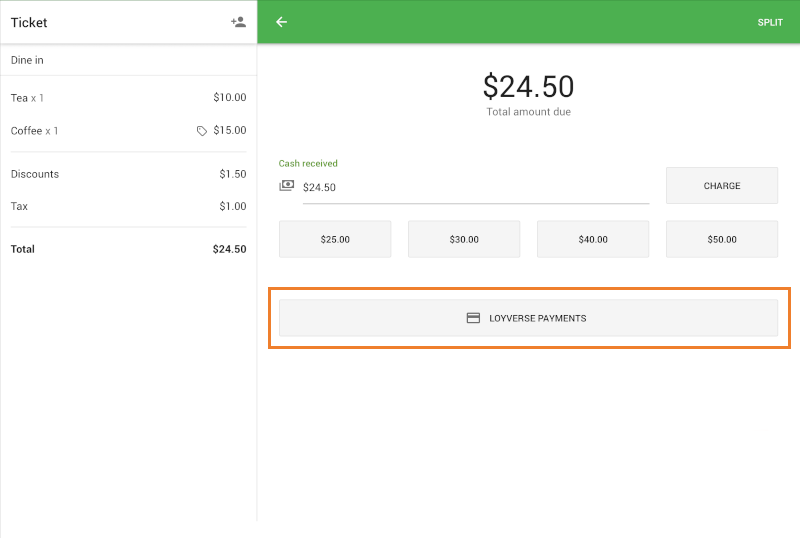
Add items to the ticket and tap ‘Charge’.
Select Loyverse Payments as the payment method.
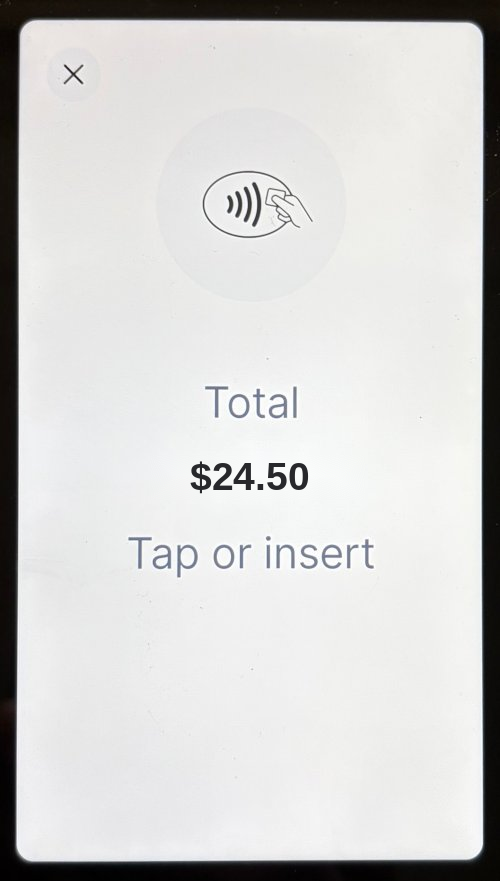
Follow the instructions on the terminal.
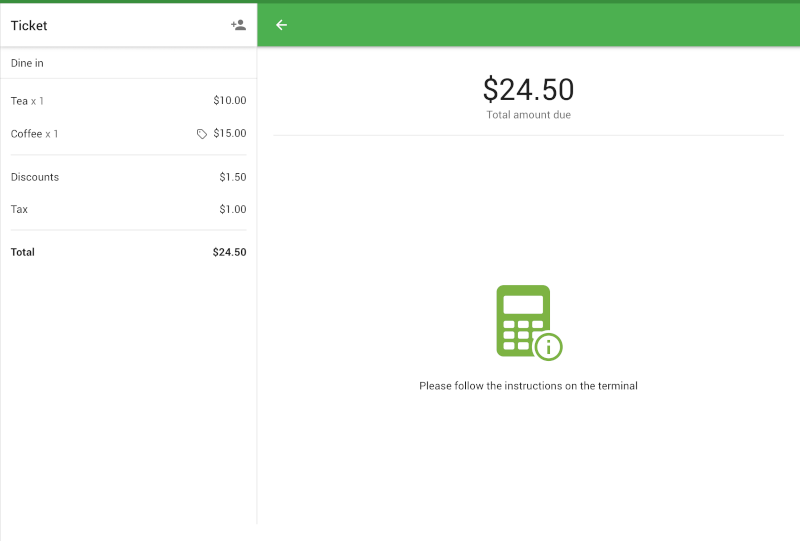
The terminal will prompt the customer to insert, swipe, or tap their card.
If the payment is successful:
Loyverse POS will show the Total paid amount.
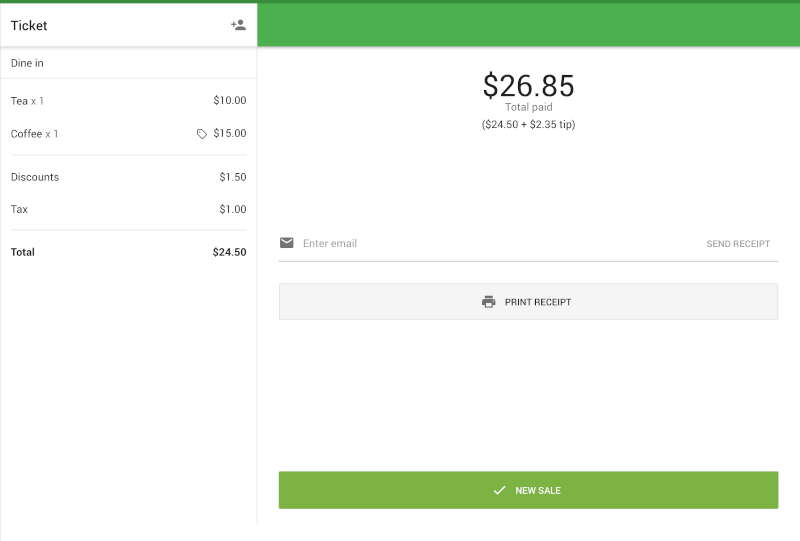
- You can print the receipt, email it to the customer, or start a new sale.
If the transaction fails:
A message will display on the POS.
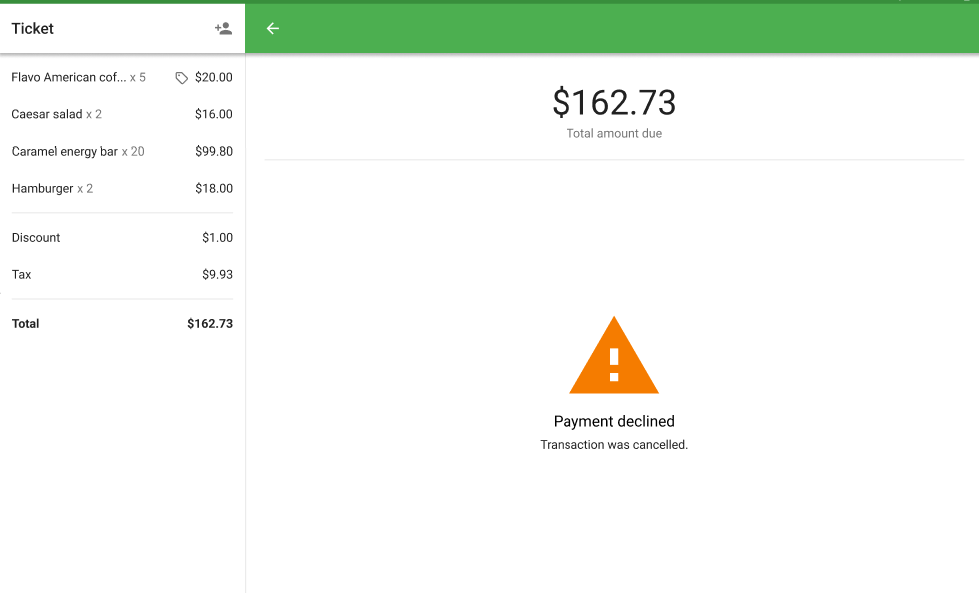
- You can return to the Payment type selection screen to retry or choose an alternative payment method (e.g., cash).
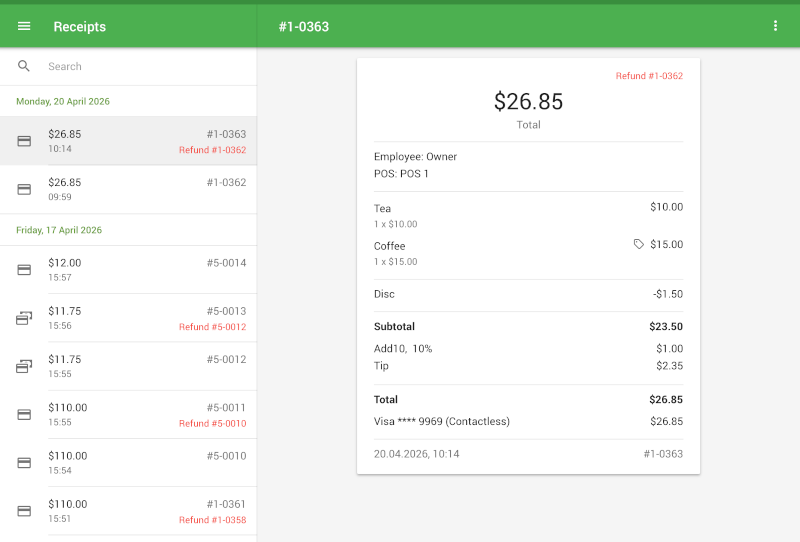
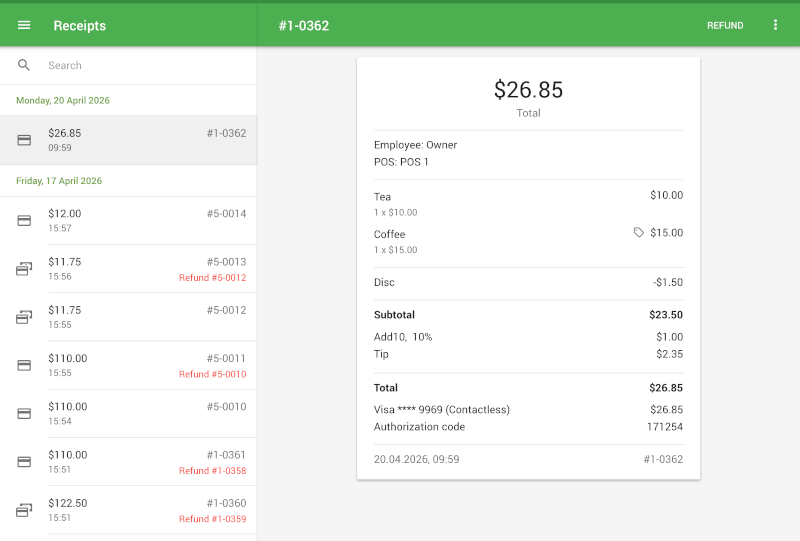
5. Processing Refunds
In the Loyverse POS app, go to the ‘Receipts’ menu.
Tap the receipt you want to refund.
Tap ‘Refund’.
Select the items to refund (they will move to the right side of the screen). Also you can select the amount of tip to be refunded.
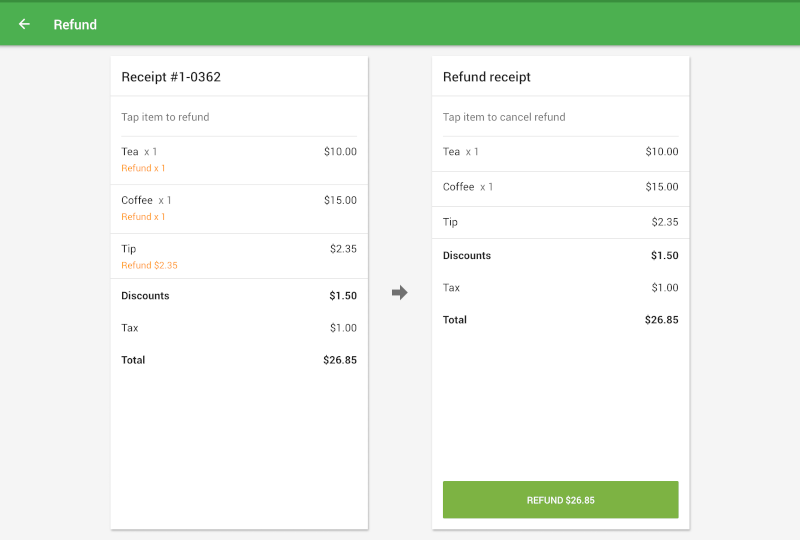
Tap the ‘Refund’ button.
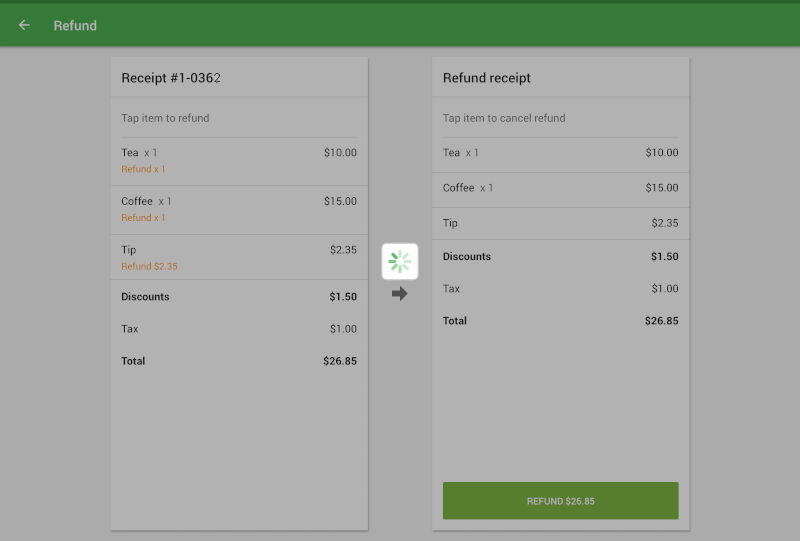
The refund will be processed, and the refund receipt will be added.