1. Managing Suppliers
2. Creating a Purchase Order
3. Managing a Purchase Order
Purchase Orders allow you to create and manage product supply orders, send them to suppliers, receive stock, and maintain a list of suppliers — all within Loyverse.
Note: Purchase Orders are part of Advanced Inventory Management and require an active subscription. See Advanced Inventory Management Overview to learn how to activate it.
1. Managing Suppliers
Before creating purchase orders, set up your suppliers.
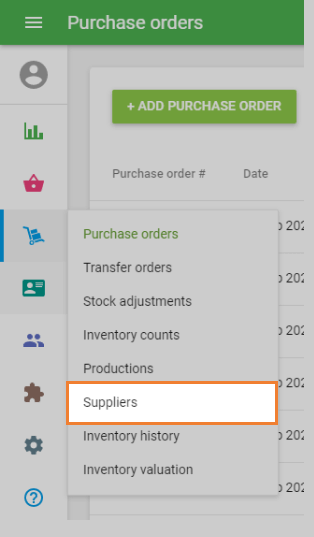
1. In the Back Office, go to Inventory Management → Suppliers.
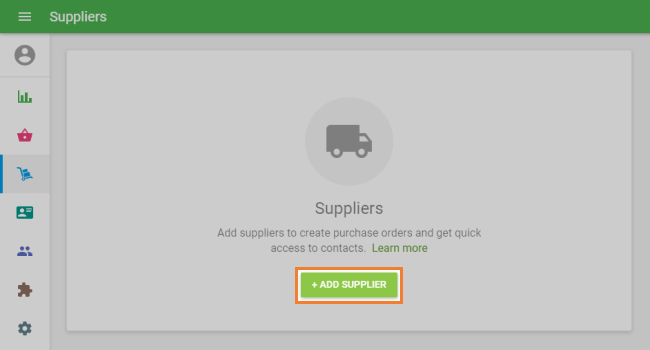
2. Click + Add Supplier.
3. Fill in the Create Supplier form:
- Supplier Name is required and must be unique.
- All other fields are optional, but note that this information will be used to populate purchase orders.
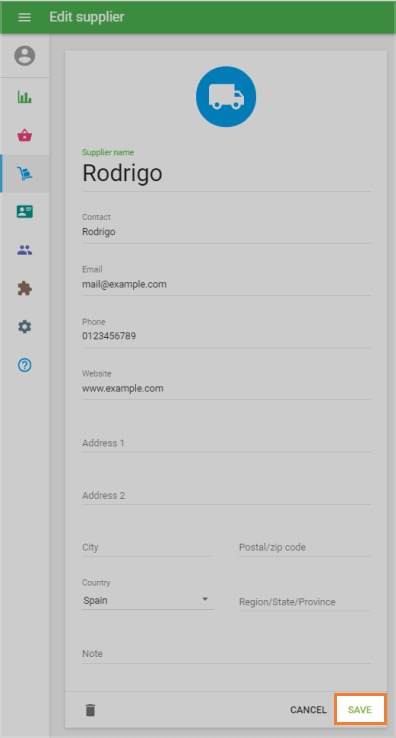
4. Click Save.
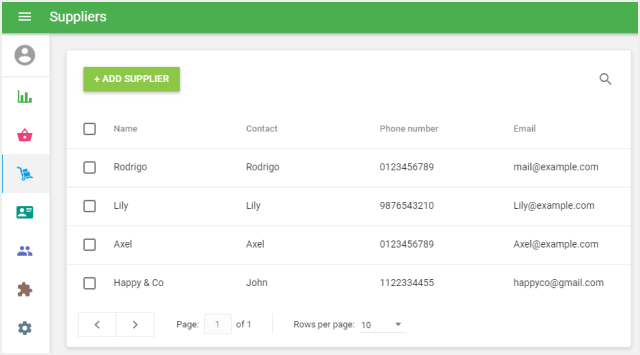
Once your supplier list is ready, you can start creating purchase orders.
2. Creating a Purchase Order
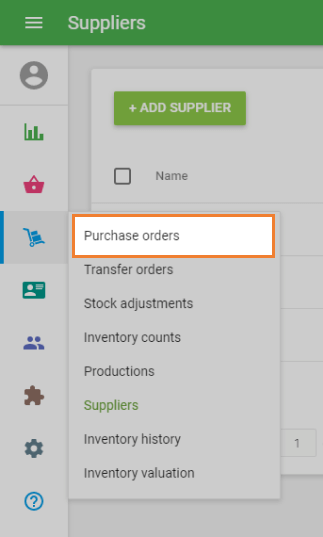
1. Go to Inventory Management → Purchase Orders.
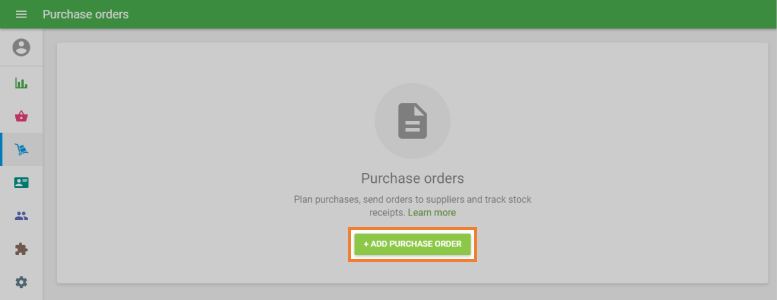
2. Click + Add Purchase Order.
3. In the Create Purchase Order form, fill in the following:
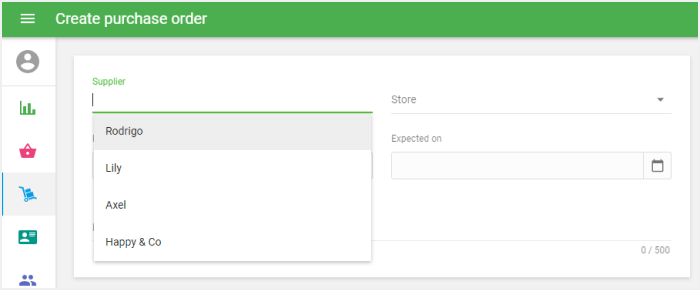
- Supplier and Store — Select from the drop-down lists.
- Purchase Order Date — Set the date the order is placed.
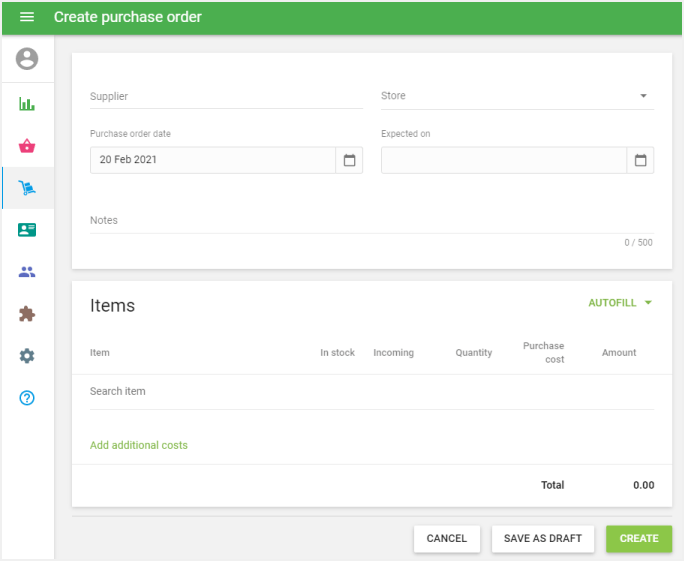
- Expected On — Set the expected delivery date.
- Notes — Add any relevant notes.
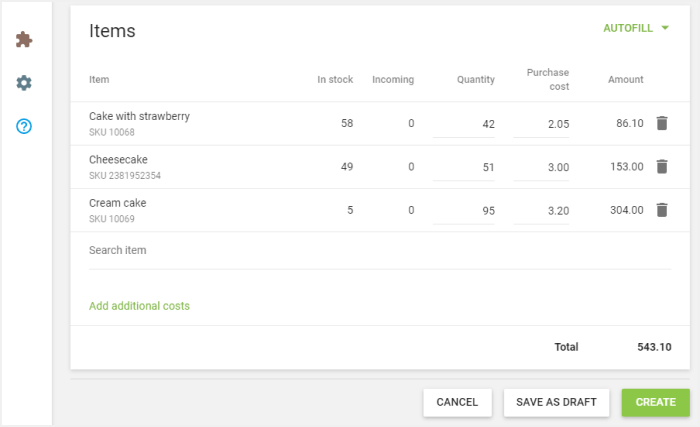
4. In the Items section, add the products to order. Click the field and type an item name, SKU, or barcode to search. For each item, fill in:
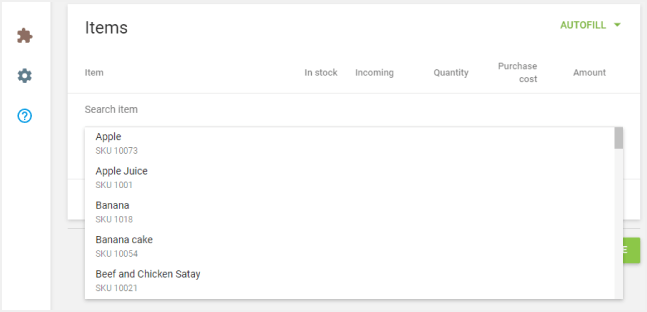
- Quantity — The amount to order.
- Supply Price — The cost per unit from the supplier.
5. The Incoming field shows the total expected quantity for an item based on all existing purchase orders not yet received.
6. Repeat step 4 to add more items.
7. When your item list is complete, click Create to submit the purchase order, or Save as Draft to save it for further editing.
Importing Items via CSV
You can add items in bulk by importing a CSV file:
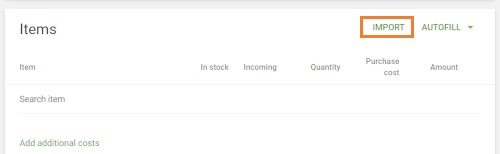
1. Click the Import button.
2. Download the CSV template to your computer.
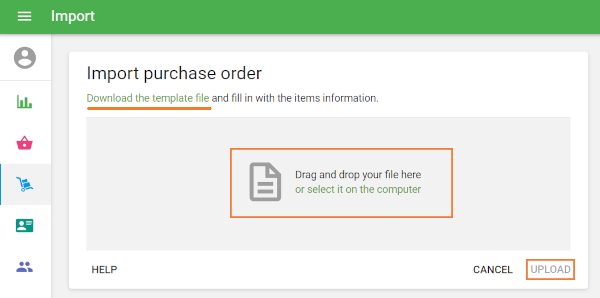
3. Fill in the template with the following fields:
Field | Required |
|---|---|
SKU | Required (if Item Name is not provided) |
Item Name | Required (if SKU is not provided) |
Variant Name | Optional |
Quantity | Optional |
Purchase Cost | Optional |
4. Select the completed file from your computer and click Upload.
3. Managing a Purchase Order
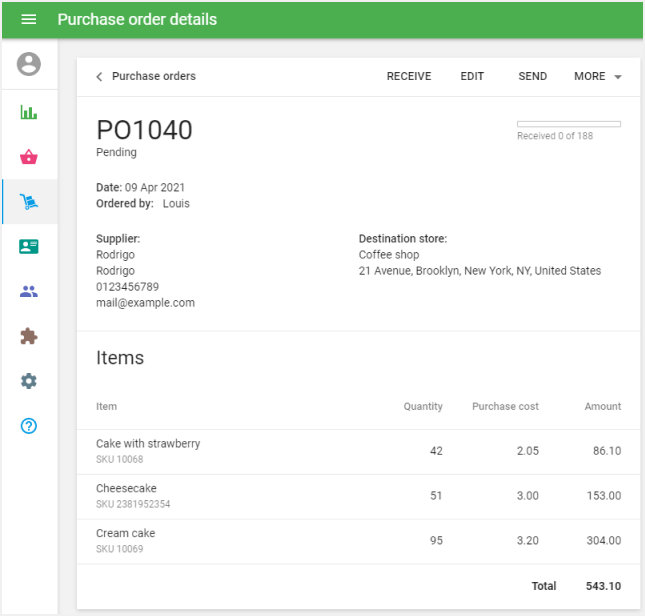
Once a purchase order is created, the following actions are available from the order details page:
Action | Description |
|---|---|
Receive | Records the receipt of items (see below). |
Edit | Opens the order for editing. |
Send | Emails the purchase order to the supplier as an attached file. |
More | Additional options include: |
Receiving Items
1. Click the Receive button on the purchase order details page.
2. Enter the quantity received in the To Receive field for each item, or click Mark All Received to confirm the full order.
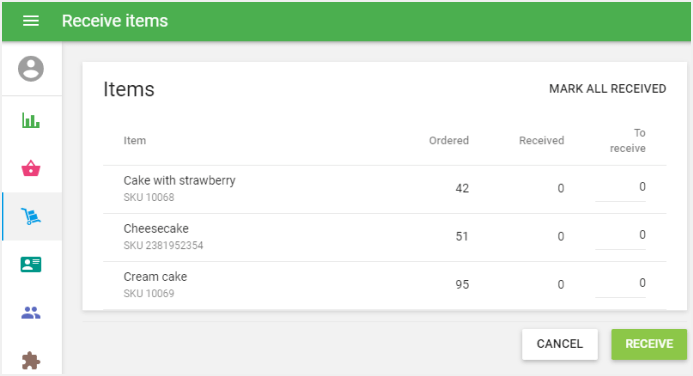
3. Click Receive to confirm.
Once received, the stock levels and average cost of each item will be updated automatically based on the supply price specified in the order.
Purchase Order Statuses
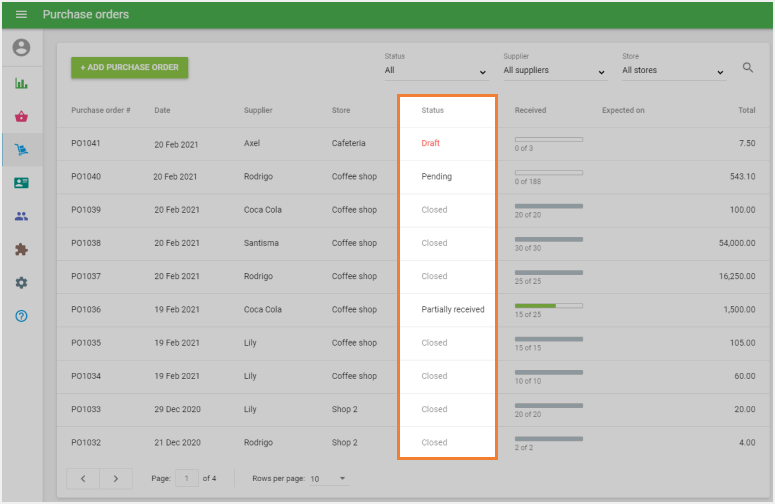
Status | Meaning |
|---|---|
Draft | Order saved but not yet submitted. |
Pending | Order created and awaiting receipt of items. |
Partially Received | Some items in the order have been received. |
Closed | All items have been received, and the order is complete. |
See also:
Advanced Inventory Management Overview
How to Work with Transfer Orders